Let’s be honest – handling government paperwork is rarely anyone’s idea of fun, and when you are doing it from another country, it can feel even more overwhelming. I recently went through the process of renewing my Indian passport while living in Germany, and while I had my fair share of doubts and confusion at the start, it turned out to be much more manageable than expected. In this blog, I will walk you through the process – from gathering the documents to finally getting a renewed passport. I will also share some of the things which I learned during the process which you can avoid to make the process even smoother for you. I hope my experience helps make things clearer and less intimidating. But before diving into the process, I will tell you the backstory of it.
When I moved to Germany, my passport had less than a year of validity left. I received a visa for around nine months, so I thought of applying for the Blue Card soon after arriving. However, since I still had a few months of visa validity left, I wasn’t given an appointment at the Ausländerbehörde (Foreigners’ Office). That’s when I started digging a bit deeper and realized it would actually make more sense to renew my passport first.
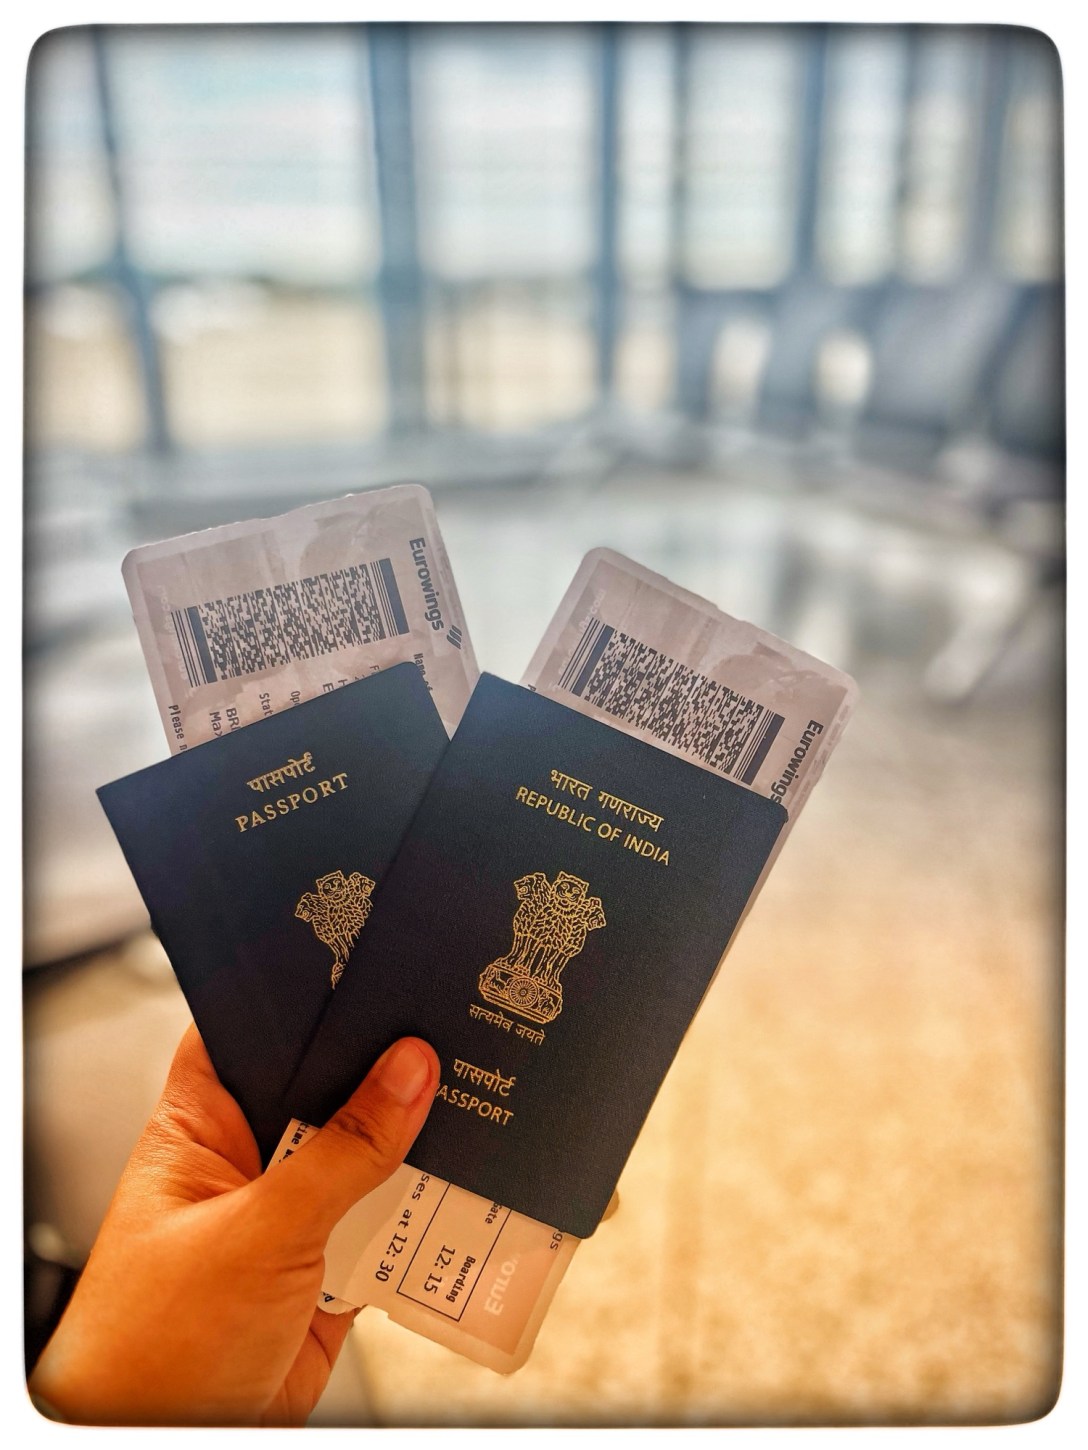
One question I had during this time was: If I get a new passport, what happens to my existing visa? If you’re wondering the same, here’s the good news—your visa in the old passport remains valid. You can simply carry both passports when needed. So if you’re in a similar situation, it’s a smart move to renew your passport before applying for the Blue Card or residence permit, as these are tied to your passport details.

Once I decided to renew my passport, I started digging what is the process to do it here. I found out that, The Consulate General of India has outsourced the passport renewing services to Alankit Global. I started checking their website) which has all the information you need. The first thing you need to do is to select your jurisdiction in Germany. There are four jurisdictions in Germany: Berlin, Frankfurt, Hamburg and Munich. You have to select the jurisdiction based on where you are residing in Germany.
The next task is to collect the documents you would require. Here is a list of documents required to renew Indian passport in Germany:
- So first thing you need to do is properly fill the application form on the passport portal here. Follow the following steps:
- Go to the above link. Click on ‘Register’ and create your account.
- Login with your id that you have created in the previous step.
- Click on ‘Apply for Ordinary Passport’.
- Select ‘Reissue of Passport’.
- Select Type of Application as Normal because unfortunately Tatkal service is not provided here.
- After that, continue to fill the application form carefully.
- Recent photographs of size 51mmX51mm.
- They’re quite strict about the photo size and specifications. If you’re struggling to get the right size elsewhere, don’t worry—you can get your photo clicked at the application center itself for a small fee. It’s super convenient and saves you the hassle of going back and forth.
- Original passport and one self attested copy of front and last page.
- Self attested copy of valid visa/ Resident Permit.
- Self attested copy of current address in Germany.
- In case of spelling errors, two other Government documents, which can verify his/her identification.
- No spelling or name changes are allowed for your family members like your mother or father in the renewal process. So, make sure to enter their names exactly as they appear in your old passport when filling out the application form. Even a small difference can lead to delays or rejection.
- In case of change in address, one valid proof of new address.
- If you are keeping your old address and not submitting any proof, make sure that you write the exact same address as of your previous passport. Even a mistake of ‘/’ or ‘.’ should be avoided.
- Proof of payment
- Duly filled checklist
- Application consent form
Once you have all the documents prepared you are ready to submit your application. You have two options to do the same, you can either send the application by post or submit in person.
To send your application by post follow the given steps:
- Go to Alankit Global website and register yourself.
- Once your account is created, Login to your account and click on ‘Apply Now’.
- Then click on ‘Postal Application’ -> ‘File a New Application’.
- Select the Application Type as ‘Passport’ and Submit.
- Your application will be created and you will get a Postal Identification Number. There on click of ‘Actions’ you can select the ‘Print Label’ option to print the label which needs to be pasted on the postal package.
The other option is to book an appointment at your nearest Alankit Global office and submit the documents in person. Speaking from personal experience, I’d highly recommend doing this if you can. You might wonder—if the whole process can be done by post, why bother going in person? Well, we initially decided to send our application by post, and it ended up delaying everything by more than a month. First, the courier service took time to deliver the documents. Then, once the package reached the office, we didn’t receive any confirmation or update. Since they receive a high volume of postal applications, it took them almost a month just to open our envelope and review the documents.
To add to it, there were some mistakes in our application form, and they asked us to come in person with a corrected version so the process could move forward quickly. Eventually, we had to book an appointment and go to the office anyway.
All this time and back-and-forth could have been avoided had we visited in the first place. So, if you want to save yourself the hassle and speed things up, I’d definitely recommend submitting your application in person.
To book an appointment you just have to do the following:
- Go to Alankit Global website and register yourself.
- Once your account is created, Login to your account and click on ‘Apply Now’.
- Then click on ‘Book Appointment’ -> ‘Book Appointment’.
- Select the Application Type as ‘Passport’ and Submit.
- Then you can select the date and time of the appointment. You also have an option there to select any additional services like Photograph, Printing etc if you require any.
Once you have your appointment and arrive at the Alankit office, the process is quite straightforward. After showing your appointment confirmation, you’ll be given a token and asked to wait for your turn. When your number is called, a representative will review your application and let you know if there are any issues. If everything looks good, they’ll submit the application on your behalf—and that’s it from your side!
Your application may then go for police verification at the Indian address you provided, so make sure the details are accurate and that someone is available there to respond if contacted. You will be informed through email that your application has been sent for police verification. In my case, I received the email but didn’t hear anything from the local police station for over two weeks. Eventually, I had to take the initiative and reach out to them directly to move things along. One key tip from this experience: make sure you fill in the correct police station in your application form. If it’s incorrect, your application might need to be transferred internally, which can lead to further delays.
Once the verification is complete, your passport will be ready for pickup at the office. You can collect it between 3:30 PM and 4:30 PM, Monday to Saturday, by showing a valid ID. Alternatively, you can opt for home delivery via courier, which costs around 30 euros.
The whole process turned out to be a learning experience filled with unexpected delays, a bit of back and forth, but ultimately a satisfying outcome. It taught me the value of being patient, doing thorough research, and not underestimating the power of simply showing up in person when needed. If you’re in a similar situation, know that you’re not alone—and it’s absolutely possible to get it done smoothly. It’s just one of those expat things you get better at with time!
If you made it till here, first of all Thanks and secondly if you still have any other questions regarding the process drop a comment here and I will answer!
